Windows 10 assigns an available drive letter to a new drive connected to the computer. The operating system goes through the alphabet from A to Z to find the first available letter to assign it to various drives. It is possible to remove a drive letter assigned by the OS. Here is how.
Here is How to Remove a Drive Letter in Windows 10:
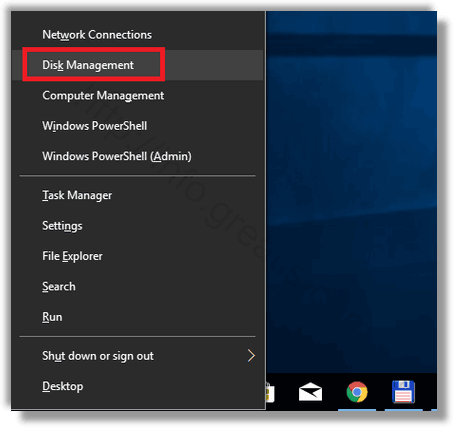
- STEP 1: At first, open the Disk Management. To do so, just press Win+X and click on Disk Management.
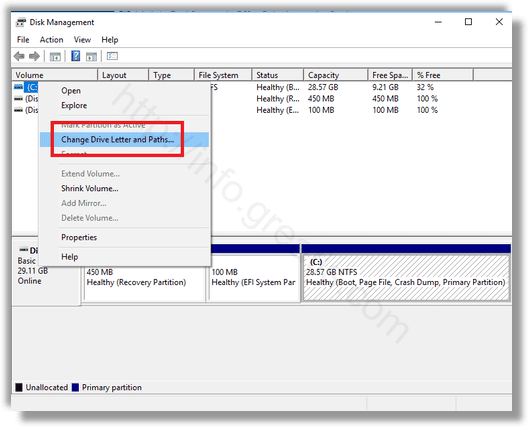
- STEP 2: Then right-click on the partition whose drive letter you would like to change. Select Change Drive Letter and Paths in the context menu.
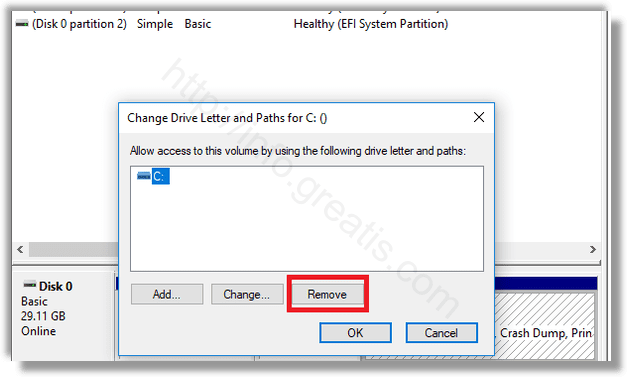
- STEP 3: After that, click on the Remove… button in the next dialog.
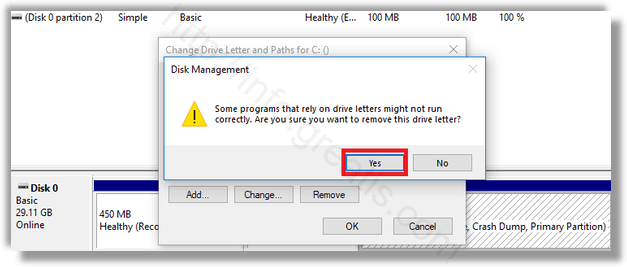
- STEP 4: At last, confirm the operation.