Windows Defender is the free antivirus software. This antivirus runs automatically on your computer, but it will disable itself automatically only when it detects another security software is installed on your device.
But what if you prefer not to run an antivirus on the particular scenario? Here is a short guide how to do that.
How to Disable Windows Defender Using Local Group Policy:
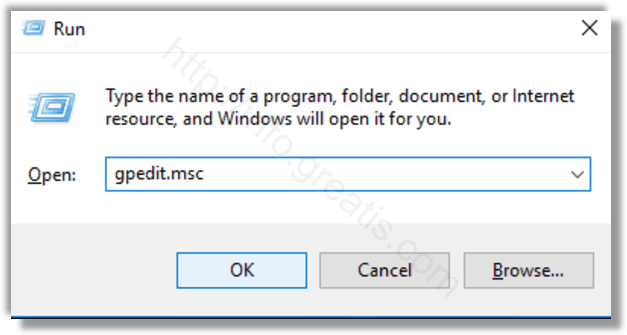
- STEP 1: At first press the Win + R keys to open the Run command. Then type gpedit.msc and press OK to open the Local Group Policy Editor.
- STEP 2: Browse the path:
Computer Configuration > Administrative Templates > Windows Components > Windows Defender
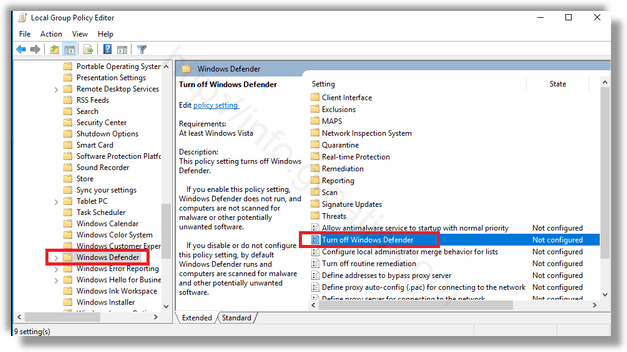
- STEP 3: After that double-click Turn off Windows Defender at the right pane.
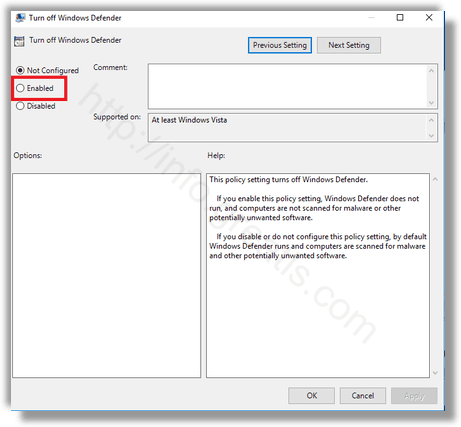
- STEP 4: Choose Enabled to disable Windows Defender, and press Apply, and OK.
How to Disable Windows Defender Using the Registry:
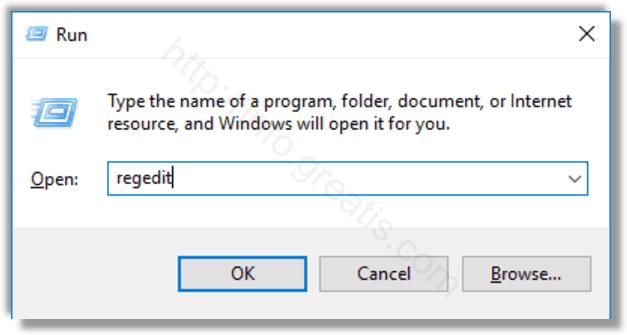
- STEP 1: At first press the Win + R keys to open the Run command. Then type regedit and press OK to open the Registry Editor.
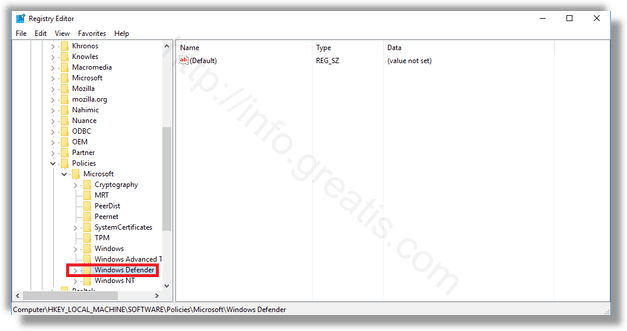
- STEP 2: Browse the path:
HKEY_LOCAL_MACHINE\SOFTWARE\Policies\Microsoft\Windows Defender
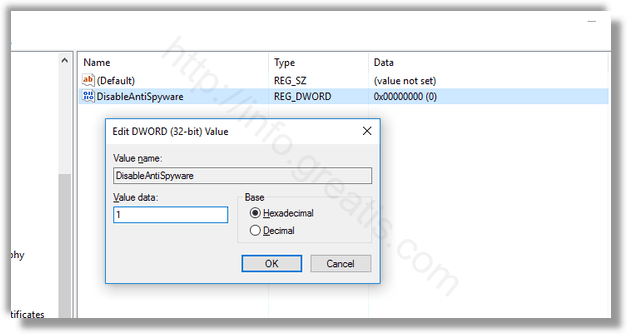
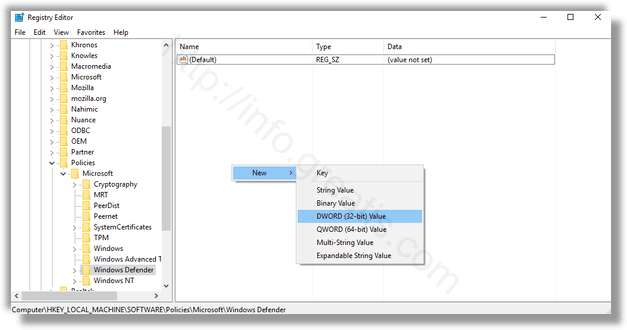
- STEP 3: After that double-click DisableAntiSpyware on the right pane. Or create the new one, if you don’t see DWORD DisableAntiSpyware.
- STEP 4: Set the value of this parameter to 1, press OK and restart your PC.