When you are not using your PC, Windows 10 performs a number of maintenance tasks. One of them is Computer Maintenance. This task performs a number of operations to keep your OS clean and configured properly.
But what if you want to disable it? Here is how.
Here is How to Disable Automatic Computer Maintenance in Windows 10 with Registry Editor:
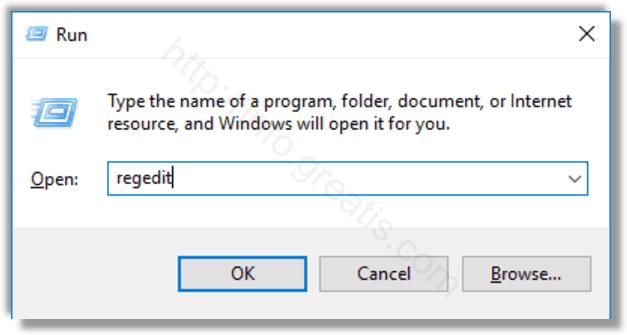
- STEP 1: At first, open Registry Editor.
- STEP 2: Then go to the Registry key
HKEY_LOCAL_MACHINE\SOFTWARE\Microsoft\Windows\ScheduledDiagnostics
If this key doesn’t exist, then just create it.
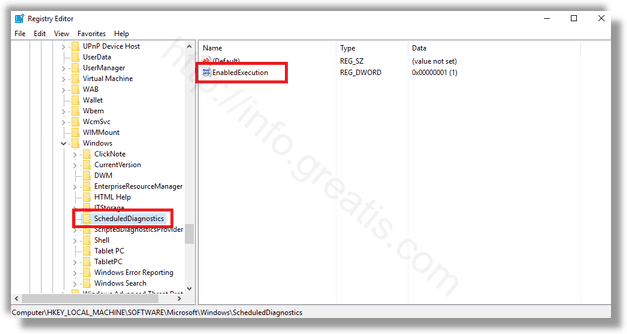
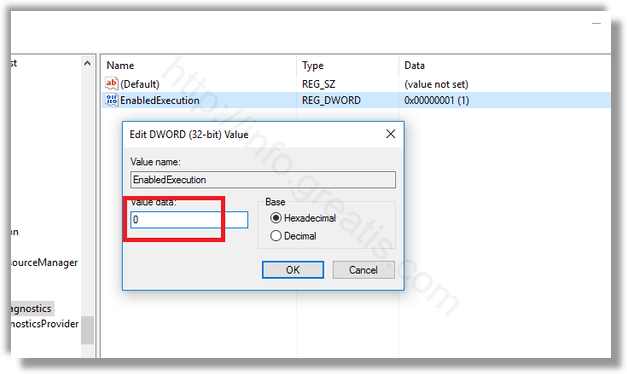
- STEP 3: After that, find at the right pane the EnabledExecution value. If this value doesn’t exist, create a 32-bit DWORD value of this name. Set it to 0 to disable Automatic Computer Maintenance in Windows 10.
- STEP 4: Restart Windows 10.
Here is How to Disable Automatic Computer Maintenance in Windows 10 with Control Panel:
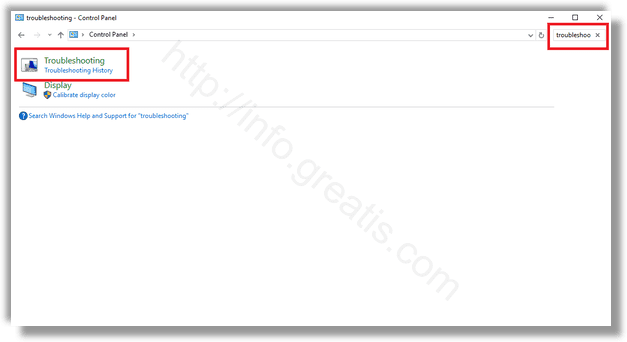
- STEP 1: At first, Open the classic Control Panel app.
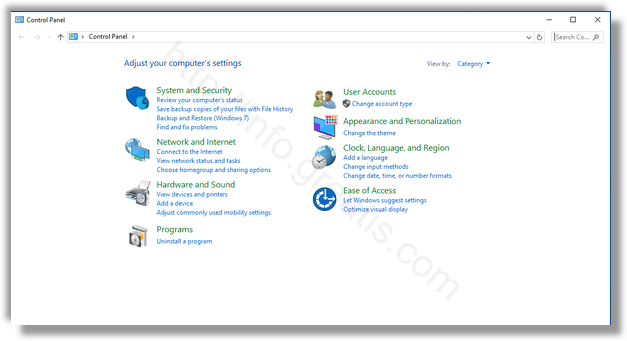
- STEP 2: In the search box, type troubleshooting, and click it.
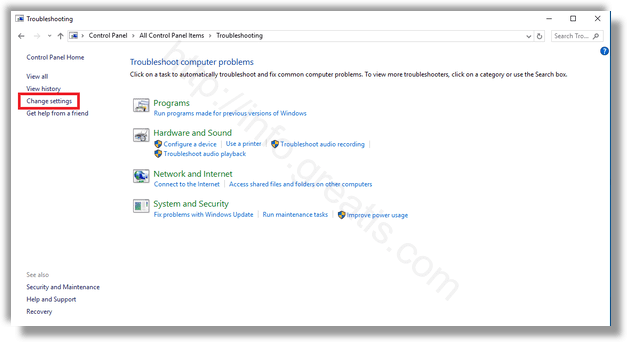
- STEP 3: After that, click the link Change settings on the left pane.
- STEP 4: At last, select the Off option under Computer Maintenance and click the OK button.
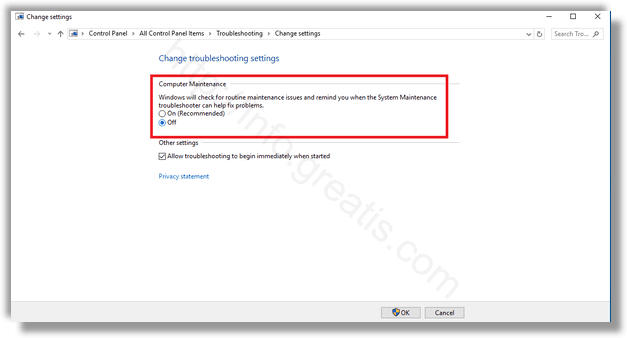
That’s it!