Screen savers were created to save very old CRT displays from being damaged by issues like screen burn-in. These days, they are mostly used to personalize the PC or improve its security with additional password protection.
A screen saver can provide additional protection from unauthorized access if you leave your device unattended at work or in some other place. If your user account has a password, you might want to enable and configure the screen saver to lock your user session automatically once you leave your PC. When you return, you can dismiss the screen saver and enter your credentials to gain access to your user session.
Here is How to Enable Screen Saver Password Protection in Windows 10:
- STEP 1: Open Settings.
- STEP 2: Go to Personalization – Lock screen.
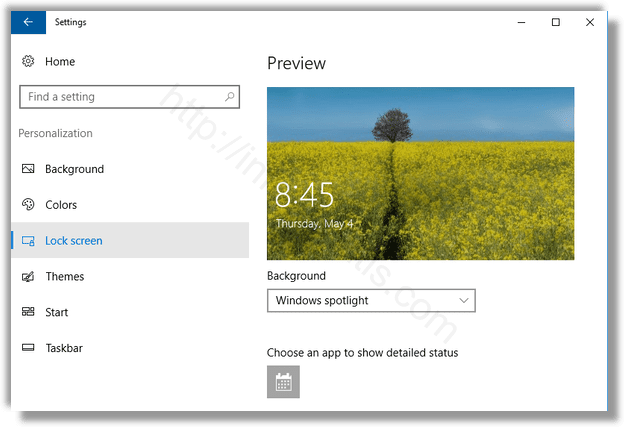
- STEP 3: On the right side, scroll down until you see the link Screen saver settings. Click it to open screen saver options. The screen saver options dialog window will appear on the screen.
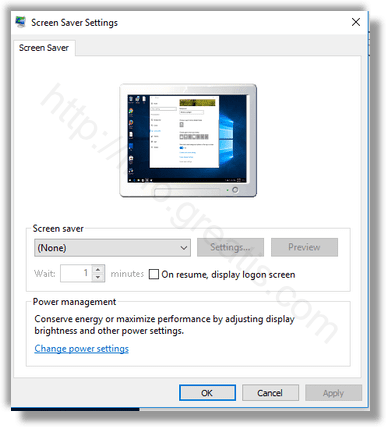
- STEP 4: Then pick a screen saver in the list if you haven’t done this before. Turn on the option On resume, display logon screen.
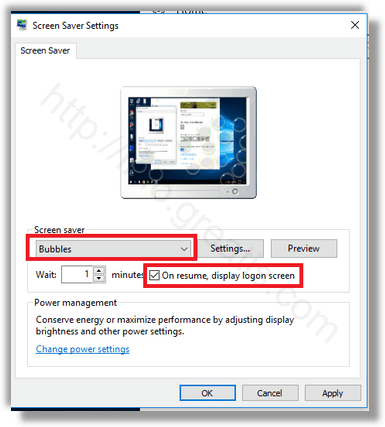
- STEP 5: Optionally, you can configure the screen saver timeout under “Wait”. The up-down control can be used to set the number of minutes of inactivity after which the operating system will show the selected screen saver.