You can hide specific drives, visible in the This PC folder of File Explorer in Windows 10. But these drives will remain accessible for users of your PC. Here is how to hide a drive guide.
Here is How to Hide a Drive in Windows 10 File Explorer:
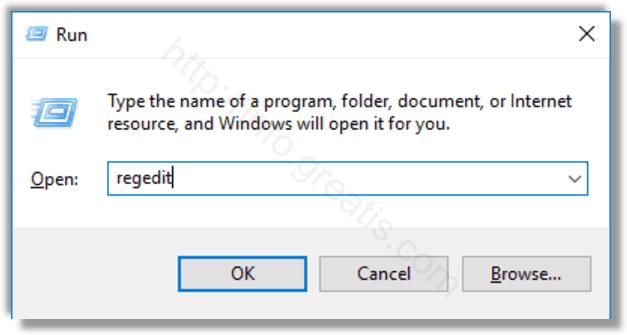
- STEP 1: At first, open the Registry Editor. To do so, just click Win+R, type regedit and press OK.

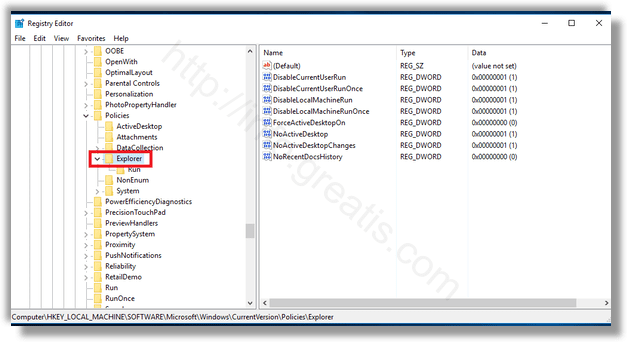
- STEP 2: Then go to the Registry key:
HKEY_LOCAL_MACHINE\SOFTWARE\Microsoft\Windows\CurrentVersion\Policies\Explorer

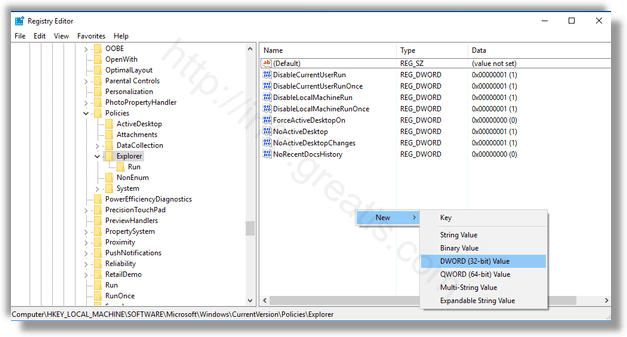
- STEP 3: After that modify or create a new 32-Bit DWORD value NoDrives on the right pane.

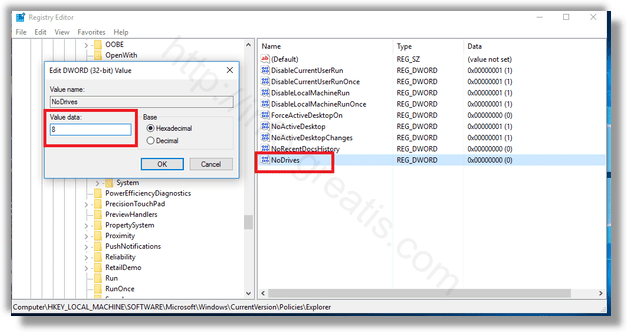
- STEP 4: Now, to hide a single drive, set the NoDrives value data in decimals according to the table below. In picture, I will set NoDrives to 8 to hide the D: drive.

Note: To hide multiple drives in a row, add up the values for the appropriate drive letters using this table. For example, to hide drives C and D, use the value data of 12 (4+8=12).
| Drive Letter | Decimal Value Data |
|---|---|
| Show all drives | 0 |
| A | 1 |
| B | 2 |
| C | 4 |
| D | 8 |
| E | 16 |
| F | 32 |
| G | 64 |
| H | 128 |
| I | 256 |
| J | 512 |
| K | 1024 |
| L | 2048 |
| M | 4096 |
| N | 8192 |
| O | 16384 |
| P | 32768 |
| Q | 65536 |
| R | 131072 |
| S | 262144 |
| T | 524288 |
| U | 1048576 |
| V | 2097152 |
| W | 4194304 |
| X | 8388608 |
| Y | 16777216 |
| Z | 33554432 |
| Hide all drives | 67108863 |