Windows shares your computer’s CPU resources between running apps. How many resources will be given to a process is determined by its priority. The higher the process priority level, the more resources will be allocated to the process.
Normal is the default level. You may wish to change the default priority level for application. So here is how.
Here is How to Change Process Priority in Windows 10:
- STEP 1: At first, open the Task Manager app.
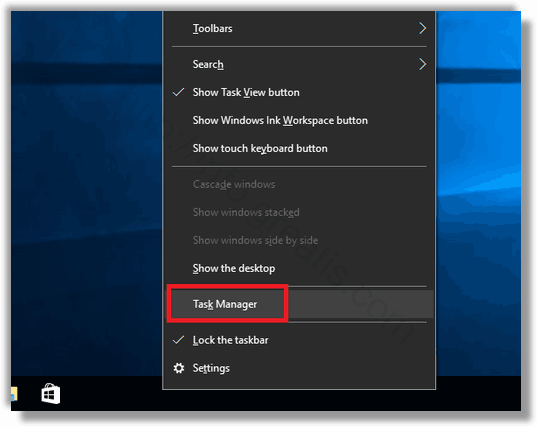
- STEP 2: Then switch it to the More details view in the bottom right corner, if needed.

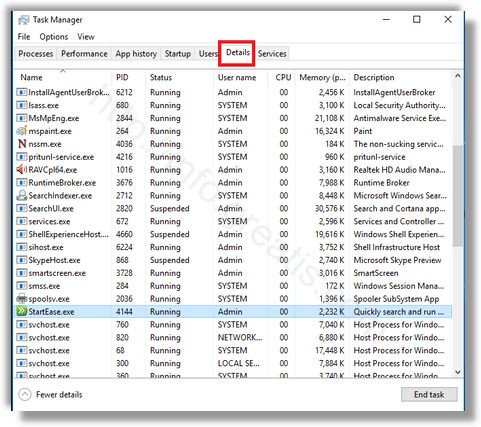
- STEP 3: After that switch to the Details tab.
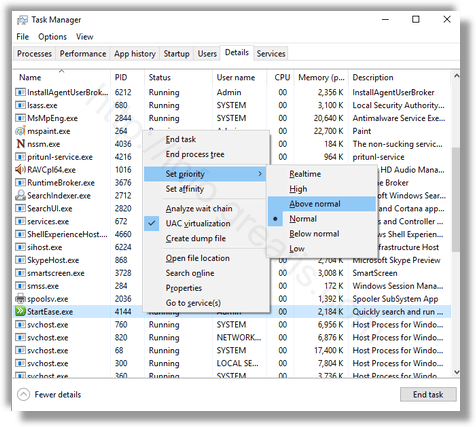
- STEP 4: Then you may right-click the desired process and select Set priority from the context menu. In the submenu drop down, select the desired priority level.
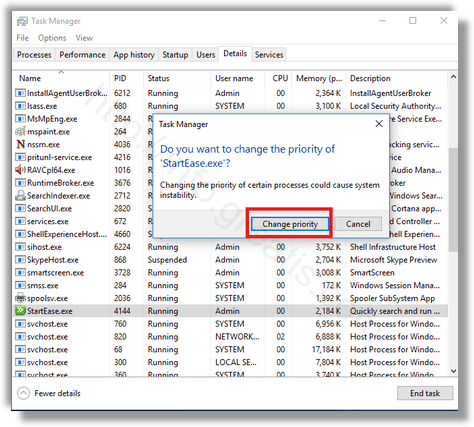
- STEP 5: At last, the following dialog will open. Confirm your choice to finish.
So, that’s it!