It is possible to create a power plan for your own needs in Windows 10. By default, Windows 10 includes power plans like High Performance, Balanced, Power Saver, etc. These plans are designed to quickly let you switch power consumption of various hardware in your PC and system power settings (like display, sleep timings, etc). You can define your own power plan with your personal preferences, without changing options of the default power plans. Here is how.
Here is How to Create a Power Plan in Windows 10:
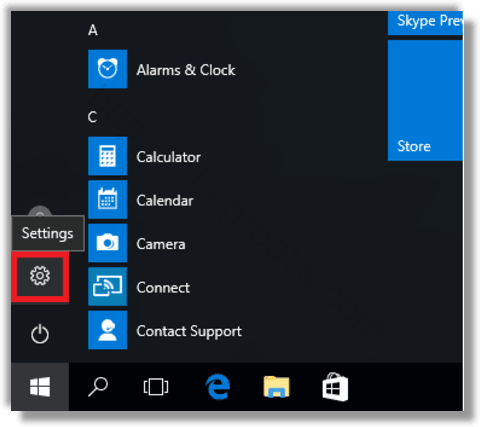
- STEP 1: At first, open the Settings app.
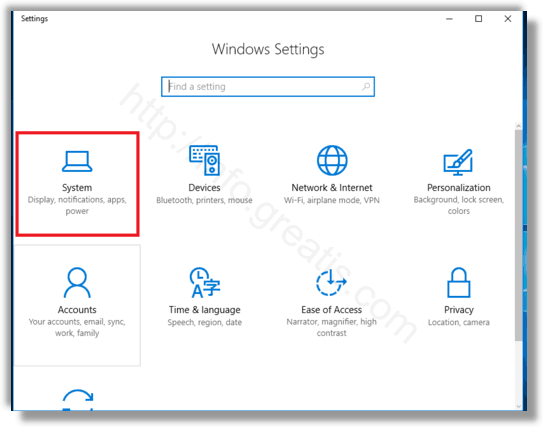
- STEP 2: Then go to System – Power & sleep.
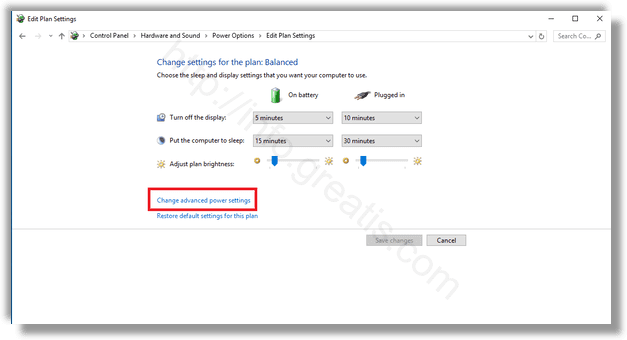
- STEP 3: After that click on the link Advanced Power Settings.
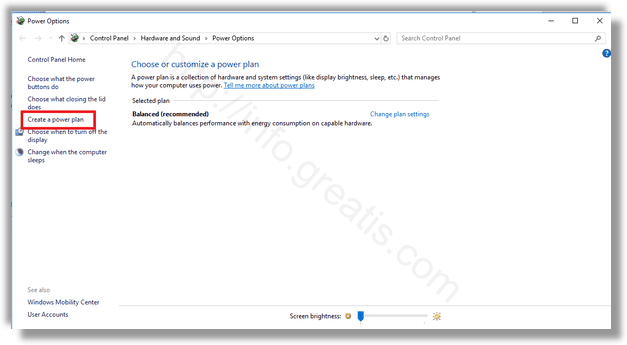
- STEP 4: Then click on the link Create a power plan on the left.
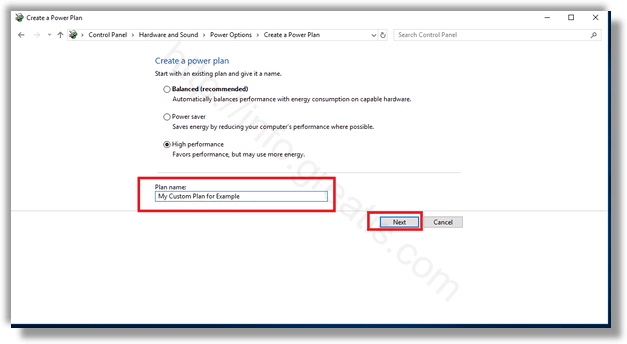
- STEP 5: Select an existing power plan which should be used as the base for your custom plan, fill in the Plan name text box and click Next.
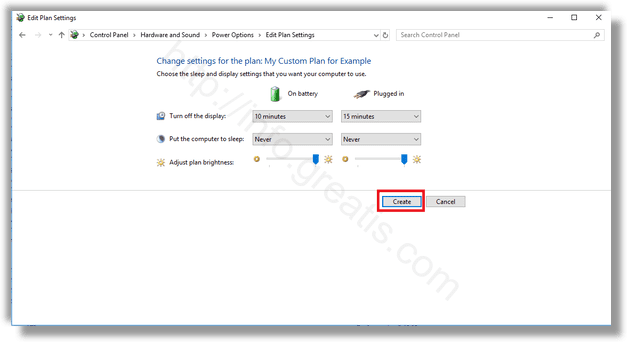
- STEP 6: Finally, change the sleep and display settings if needed and click on the Create button. Your custom power plan will be created.