Windows comes with a set of folders which are designed to share your documents with other users. Windows 10 comes with the following set of folders:
- C:\Users\Public\Public Documents
- C:\Users\Public\Public Downloads
- C:\Users\Public\Public Music
- C:\Users\Public\Public Pictures
- C:\Users\Public\Public Videos
Documents you put in these folders are accessible by other users and by other computers on your network. Public folder sharing is a useful and easy-to-use way to share your files, but they are disabled by default. Here is how to enable it.
Here is How to Enable Public Folder Sharing in Windows 10:
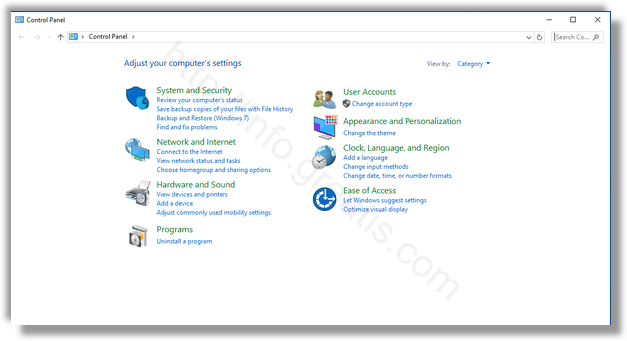
- STEP 1: At first, open the Control Panel app.
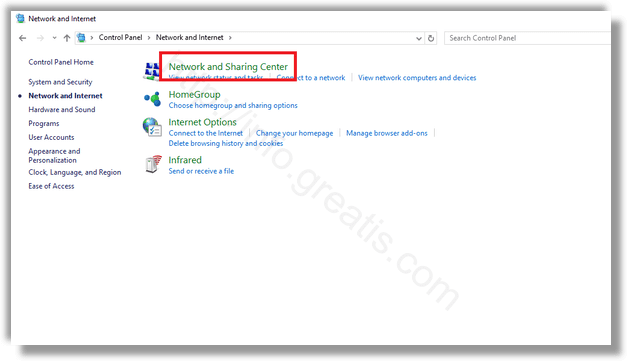
- STEP 2: Then go to Network and Internet -> Network and Sharing Center.
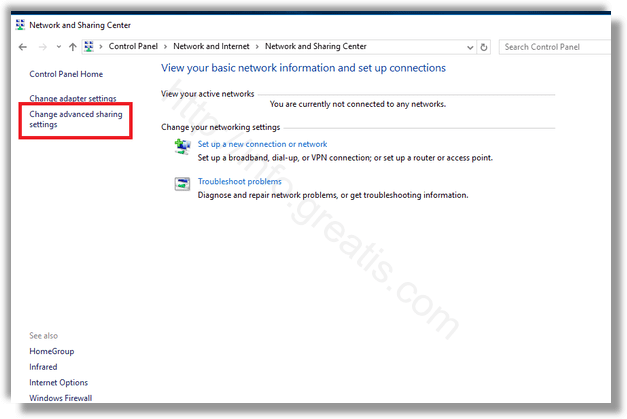
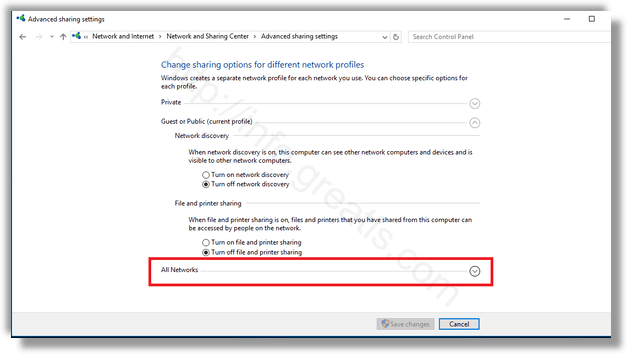
- STEP 3: After that, on the left pane click on the link Change advanced sharing setting.
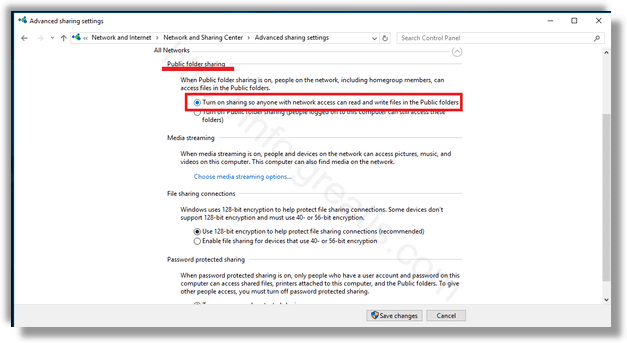
- STEP 4: Now expand the All Networks section on the next page.
- STEP 5: At last, enable the option Turn on sharing so anyone with network access can read and write files in the Public folders under Public folder sharing section.