When you click on the shutdown command in the Start menu, the OS performs the selected action directly. While this is okay for regular users, there are instances like if you are a system administrator where you need to keep the system running for as long as possible without any downtime. If there’s a reason to restart or shutdown, it’s handy for many IT companies to log and document these reasons so over time they may analyze why the restart or shutdown was required to maximize their Windows session uptime. For this, you can enable the Shutdown Event Tracker feature.
When Shutdown Event Tracker is enabled, you can’t shut down or restart the operating system without the dialog for providing a reason popping up. If the computer is shut down or restarted unexpectedly, either as a result of power interruption or hardware failure, the user is prompted to enter the reason in Shutdown Event Tracker when the computer starts again. So this information can be retrieved later from the Event Log. Here is how to do that.
Here is How to Enable Shutdown Event Tracker in Windows 10:
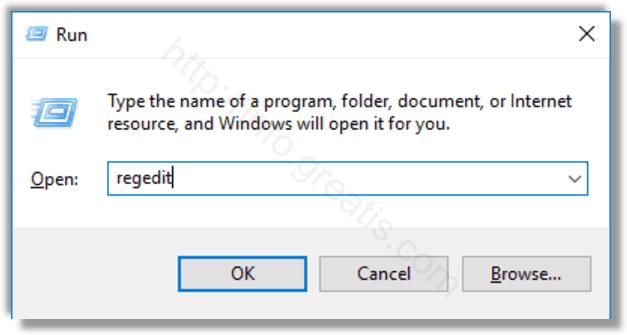
- STEP 1: At first, open the Registry Editor. To do so, just press Win+R, type regedit.exe and press OK.
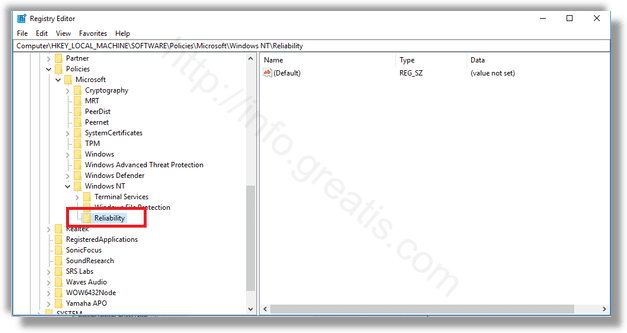
- STEP 2: Then go to the Registry key
HKEY_LOCAL_MACHINE\SOFTWARE\Policies\Microsoft\Windows NT\Reliability
- STEP 3: After that, create a new 32-Bit DWORD value ShutdownReasonOn, and set its value to 1.
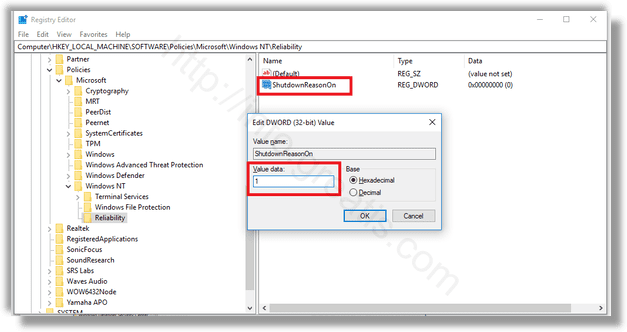
- STEP 4: Finally create a new 32-bit DWORD value ShutdownReasonUI, and set its value to 1 too.

Don’t forget to restart Windows 10 to make the changes take effect.