If your network has issues, it might be broken by malware, or by some dangerous tweaker app or even by another user on the PC you are using. You might want to reset it. Recent builds of Windows 10 allow to perform this operation in a user-friendly way.
In previous Windows versions and early Windows 10 releases, the user had to use the following commands to reset the network configuration:
ipconfig /flushdns
netsh winsock reset
netsh winsock reset proxy
They had to be executed in an elevated command prompt.
Starting with Windows 10 version 1607, the process is much simplified. Finally, the Settings app comes with a special feature to reset the network configuration with a few clicks. Here is how.
Here is How to Reset Network Connection in Windows 10:
- STEP 1: Open Settings.
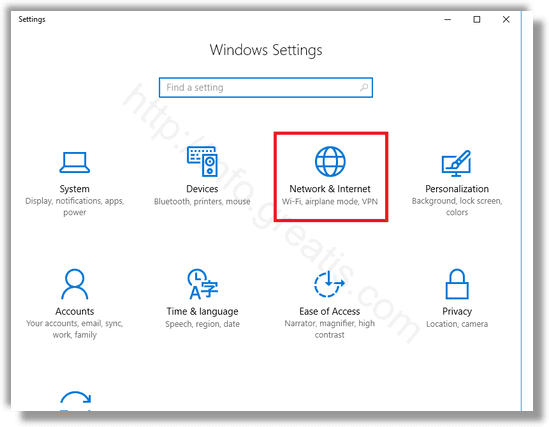
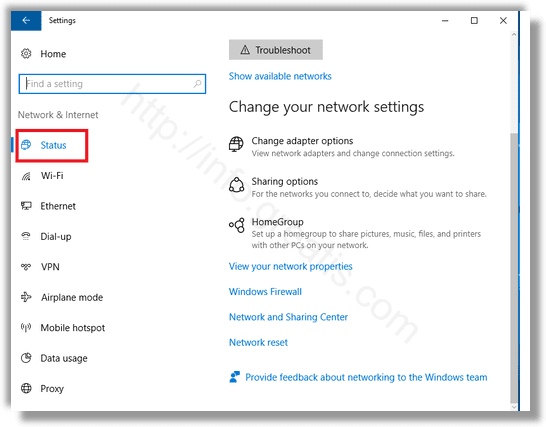
- STEP 2: Go to the Network & internet category and select Status on the left.
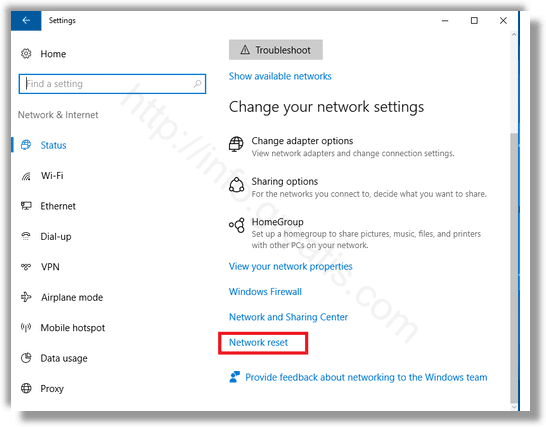
- STEP 3: On the right, find the link “Network reset” and click the link.
- STEP 4: The following page will appear. Read the text carefully before proceeding. If you decide to continue, click the Reset now button.
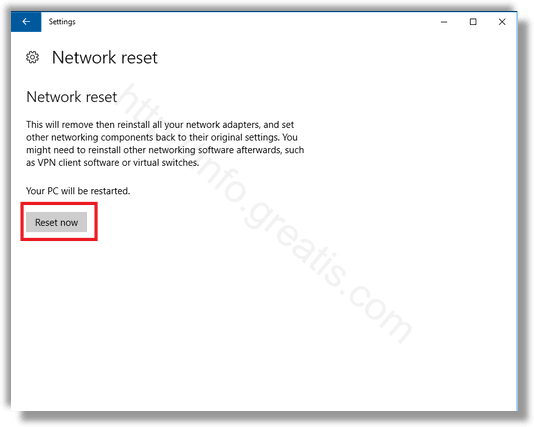
A final confirmation will appear. Click Yes to proceed.
After that, the network configuration will be removed and replaced with the default OS options. You may need to re-configure it according with your needs.
This feature is really useful and time-saving. You don’t need to remember console commands and type them. Instead, you can just click a few buttons and you are done.